This is the latest version of my animatic. I have made many cuts to this version in hopes of tightening it up a bit more. I thought that it was a bit too slow on previous versions, and there are still a few more changes that I already want to make to this one, but the timing here feels better in my opinion.
Thursday, December 2, 2010
Post-Production Schedule
Here is my projected schedule from the beginning of December 2010 until May 2011.
December:
- Animate
- Animatic/Rough Edit (playblast)
- Begin texturing process (over the break)
January:
- Clean up animation
- 2nd edit (playblast)
February:
- Finish any remaining animation
- Adding shaders/lighting/textures
- Begin rendering process
March:
- Continue making tweaks to shaders/lighting/texturing
- Continue rendering process
- 3rd edit
April:
- Final edit
- Recording sessions with composer
- Sound Mix
- Finish rendering
May:
- Film completed (rendering/music/sound)


Bedroom Scene


Here are screencaps of my bedroom in its current state. It is essentially done, save for some extra accessories that I will be placing around the room and on the night table next to the bed.
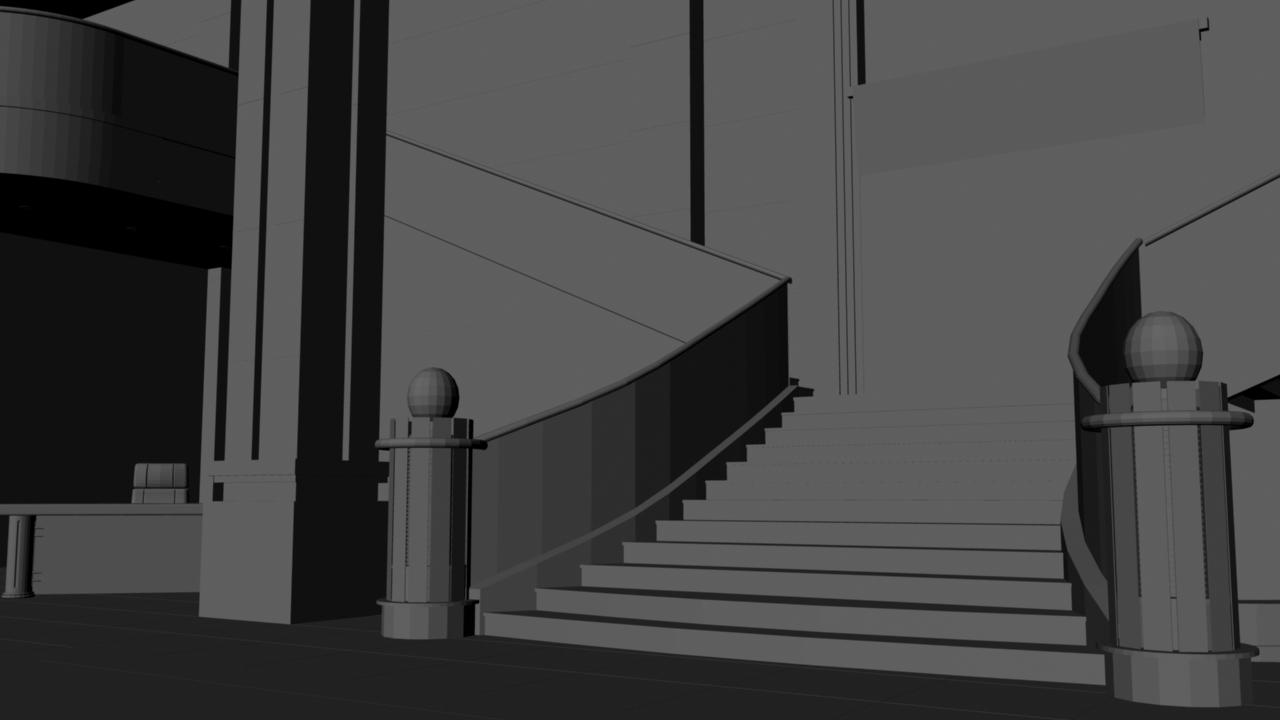
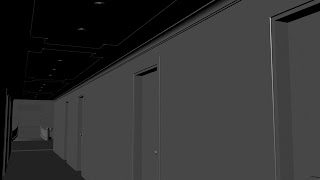
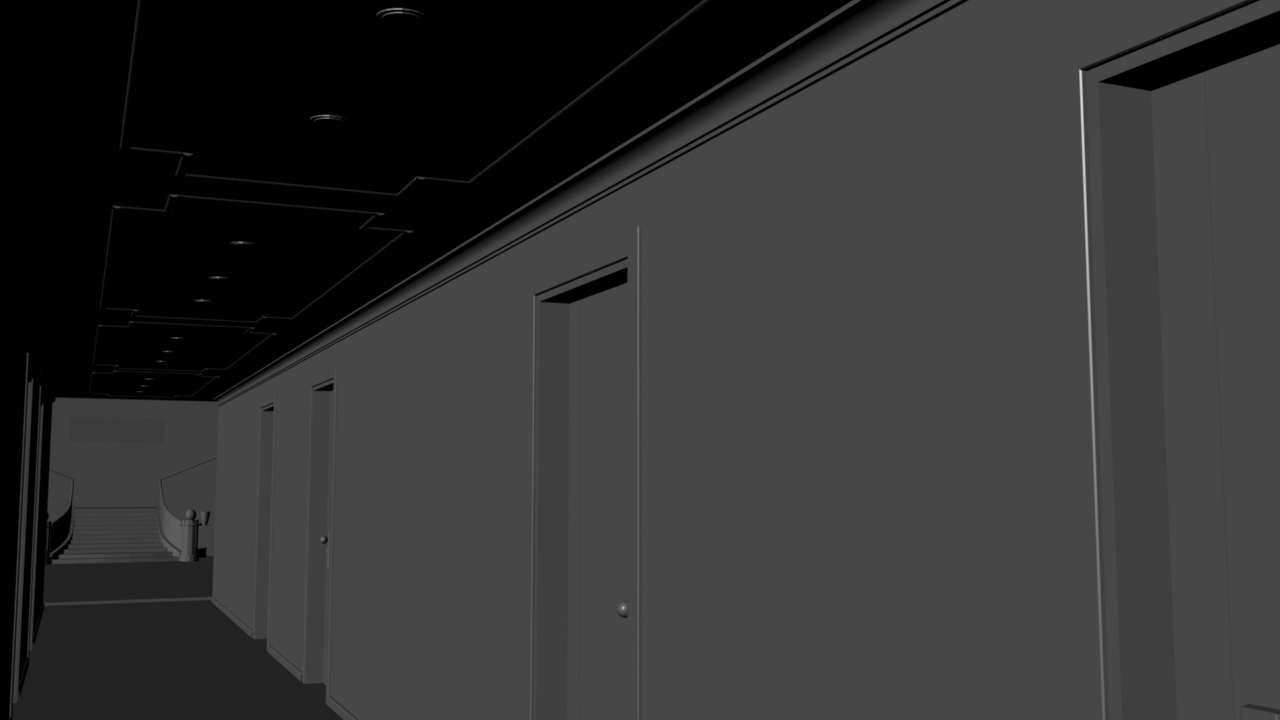
Hallway Scene
Here are some preliminary renders of my hallway scene. It has yet to be textured and lit, but the modeling stage is complete.


Building the Scenes: Research Images
To shift gears a bit, I'm going to move on from talking about the characters and go into the scenes that they will actually be moving around in. I am currently using a multi-node camera to give me the ability to 'pan', 'tilt', and 'roll' separately from each other. It will give me a much more cinematic feel to my camera moves, and hopefully avoid making it look too clean (which can be a problem when dealing with camera moves in Maya).
I basically have four scenes laid out: the main character's bedroom, a hallway, a grassy hill scene, and a hotel lobby.


I used these images to give me an idea of not only what the architecture of the hallway scene should try to mimick, but also some ideas on lighting. I think that I might be leaning towards making it a tad darker than what is shown in these images, but otherwise they were helpful in building my hallway scene. I want it to give a solitary yet cramped feeling.


As for the hotel/lobby space, I looked at images of older lobbies from the 40's and 50's, as that is the era that I'm hoping to evoke. I also like the warm lighting scheme in these images, and hope to do something similar in my scene.
The hill scene was inspired by one of the images previously posted on this blog from my pre-production research images.
Girl Rig Update (as of the end of November)


Rig update on current status:
Setup the body, arms and legs, both with IK/FK blends.
Things that still have to be completed:
- Fix some broken parts of the rig and setup the Jaw and finger controls
- Finish the Facial Rig and add phonemes
- Bind it and paint weights.


Rigging Process Begins

This is the basic setup for the facial rig of both girl models. The slider on the right swaps between both versions of the girl. At this point, the jaw controls still don't work. What is working at this point are the eyelids, mouth, eyeballs, nose, and eyebrows.
The facial rig will eventually be a full control blendshape rig since the girls are more expressive than the old man, as well as the fact that they are in more shots. The old man will probably use just basic predetermined blendshapes based on the character expressions that I previously drew. This is basically to save time since the girl rig is taking a little long than expected.
Final Character Models
Old Man Character model completed (as of October 6, 2010):


Final Character Models for both Girls (as of October 28, 2010):


Final Character Models for both Girls (as of October 28, 2010):


Character Models in progress


The character model for the girls went through a lot more changes than the old man, as I decided to base their look on a mix of my final character concept art as well as other images that I found online that followed the direction that I wanted for the final look of the girls. I also marked the eyes in red, as I decided to go with more narrow eyes than originally planned. Overall, both girls are a lot less stylized than the old man.


I mutually agreed with my rigger to create only one character model for both girls for a couple of reasons. The first reason is to avoid confusing the audience that this is, in fact, the same character but at different ages. That was something that I was worried about at first. The other is merely to save time by rigging one model and having it be able to swap between both versions. There will be a slider on the final rig that will be keyable, which will allow me to swap between both versions on the fly.


The images above are those of the old man character model in progress as of October. Aside from making minor alterations to the ears and chin, as well as making his hair a little more narrow on the sides, he is relatively unchanged from the final concept art that I had pinned down going into the beginning of the fall semester.

Animatic - September 2010
The animatic above is based on my finished storyboard and has a limited scratch track. The timing isn't to where I'd like it to be, as there are portions that I find a little bit slow. Also, I will make some changes to the ending from what is in this version of my animatic.
Character Expressions


These images are general character expressions of each character. The main purpose, aside from giving my Character Rigger Aiman Akhtar an idea about specific expressions that each of the characters will have in the film, is to get an idea of the demeanor of each character. The old man will be fairly subdued and his expressions won't have a lot of range. The younger girl is the most expressive, and has the widest range of the three characters in personality. The older version of the girl is somewhere in between, ranging from solemn to somewhat pleased.
Final Character Designs


These are the final character designs I decided to stick with for the film. The old man is the central character, and he is not revealed until towards the end of the film. I decided to make him, as well as both girls stylized, yet somewhat realistic. Both versions of the female character has un-proportional eyes and head.
I kept the arms and legs thin to help in the rigging process, as thin limbs make the rigging much easier to do. As for the rest of the body, I gave the old man fairly standard clothes since it isn't all that important what he is wearing. I tried to have a more elegant dress for the older version of the girl, while the skirt for the younger version gives her more of an innocent and playful appearance.
Wednesday, December 1, 2010


Pre-production: Visual Development & Concept Art


The images above are concept art from the Spring '10 semester. Many of these are based on a different take on my original story, but the style of the sketches is something that I'm hoping to achieve in 3D through the use of shaders.
Subscribe to:
Posts (Atom)